Hydromulching is an efficient and cost-effective method for establishing vegetation, controlling erosion, and enhancing the aesthetic appeal of landscapes. Whether you’re looking to grow a lush lawn or stabilize a hillside, understanding the hydromulching process can help you achieve optimal results. In this step-by-step guide, we’ll walk you through the entire hydromulching process—from initial preparation to aftercare—so you know what to expect when working with Bledsoe Hydromulch.
1. Site Evaluation and Planning
Assessment
- Site Conditions: We evaluate the terrain, slope, and drainage patterns to identify any challenges that might affect the hydromulching process.
Planning
- Customized Seed Mix: Based on the soil analysis and your preferences, we select a seed mix tailored to your specific needs—whether it’s for a residential lawn, commercial property, or erosion control.
- Erosion Control Measures: For sites prone to erosion, we plan for additional measures like installing erosion control blankets or using specialized tackifiers in the hydromulch mixture.
2. Preparing the Hydromulch Mixture
Components of the Hydromulch Slurry
- Seeds: The chosen seed mix is the cornerstone of the slurry, selected for its suitability to the local climate and soil conditions.
- Mulch: Wood mulch act as a protective layer, retaining moisture and providing insulation.
- Fertilizers: Granular fertilizers supply essential nutrients to support early growth.
- Binders/Tackifiers: These additives help the mulch adhere to the soil, reducing erosion and seed displacement.
- Water: Water is added to create a homogeneous slurry that’s easy to spray and ensures even distribution.
Mixing Process
- Hydroseeder Equipment: The ingredients are loaded into a hydroseeder tank equipped with agitators to mix the slurry thoroughly.
- Quality Control: Our technicians monitor the mixing process to ensure consistency and effectiveness of the slurry.
3. Application of the Hydromulch
Spraying the Slurry
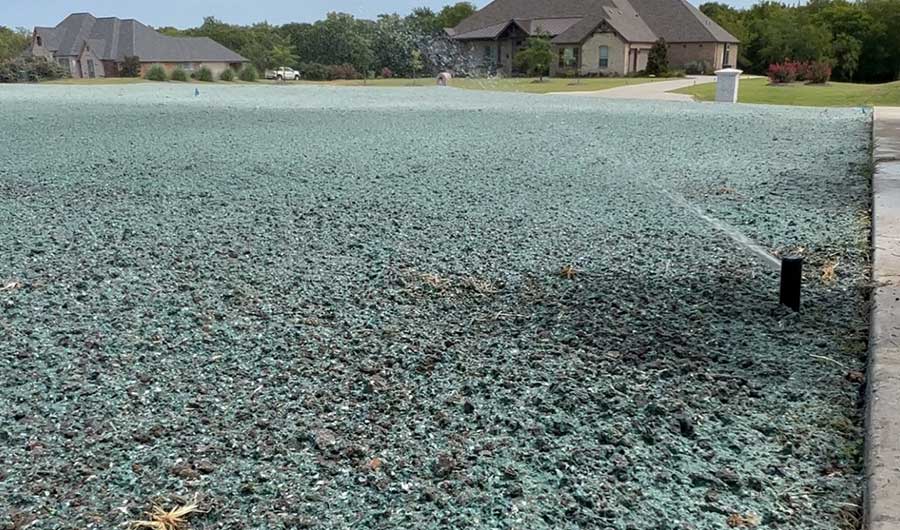
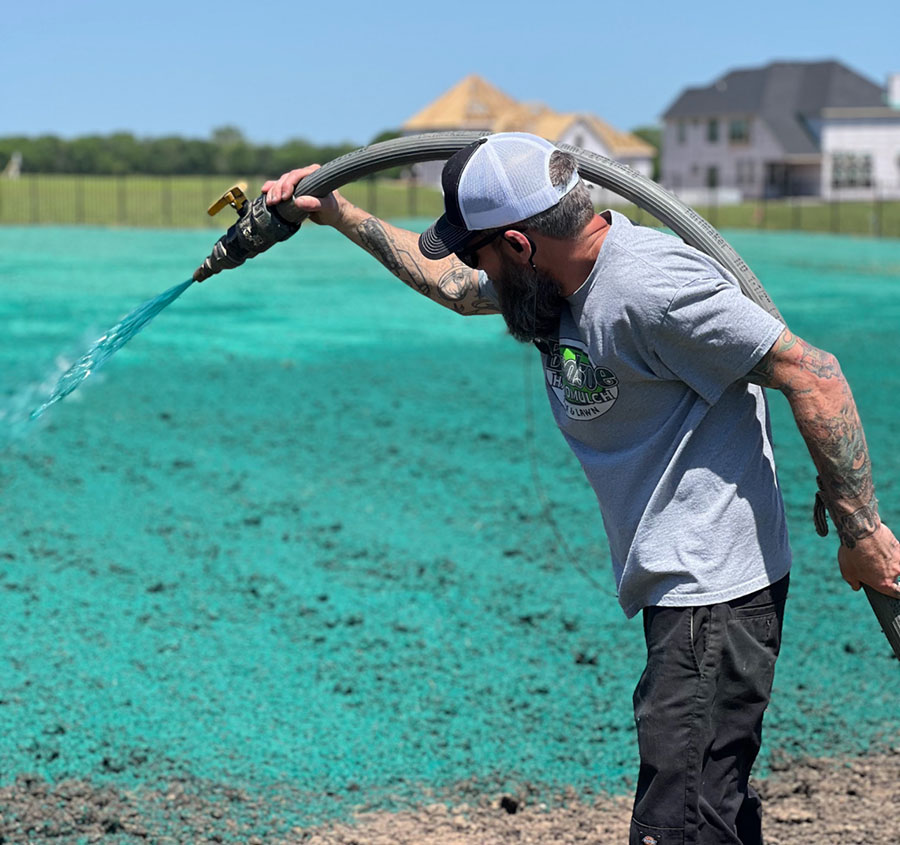
- Uniform Coverage: Using specialized spray hoses or cannons, the slurry is evenly applied across the prepared site.
- Technique: Our experienced operators use overlapping spray patterns to prevent gaps and ensure full coverage.
- Accessibility: The hydromulch can be applied to various terrains, including steep slopes and hard-to-reach areas.
Safety Measures
- Protective Gear: Our team wears appropriate protective equipment to ensure safety during the application.
4. Post-Application Procedures
Initial Inspection
- Quality Check: After application, we inspect the area to confirm even coverage.
- Cleanup: Any equipment and materials are safely removed from the site.
Watering Guidelines
- First Watering: The hydromulched area typically doesn’t require immediate watering due to the moisture content in the slurry.
- Irrigation Schedule: We provide a customized watering schedule to keep the mulch moist but not waterlogged, which is crucial for seed germination.

5. Aftercare and Maintenance
Monitoring Growth
- Germination Period: Seeds usually begin to germinate within 7-14 days, depending on the seed type and environmental conditions.
- Regular Inspections: We recommend regular site visits to monitor progress and address any issues like dry spots or erosion.
Mowing and Weeding
- First Mow: Wait until the grass reaches about 3-4 inches in height before the first mow. Ensure the mower blades are sharp to prevent pulling out young seedlings.
- Weed Control: Keep an eye out for weeds and remove them promptly to reduce competition for nutrients and sunlight.
Fertilization
- Follow-Up Feeding: Approximately 4-6 weeks after application, a supplemental fertilizer may be applied to promote robust growth.
Erosion Repair
- Touch-Ups: In areas where heavy rain or wind may have caused erosion, additional hydromulch can be applied to repair and reseed the affected spots.
6. Long-Term Care
Ongoing Maintenance
- Regular Watering: Maintain a consistent watering schedule, adjusting for rainfall and seasonal changes.
- Seasonal Care: Prepare your lawn for different seasons with appropriate practices like aeration, overseeding, and winterization.
Professional Support
- Consultation Services: Bledsoe Hydromulch offers ongoing support and maintenance services to ensure your landscape remains healthy and vibrant.
- Customer Education: We’re here to answer any questions and provide guidance on best practices for lawn care.
Conclusion
Hydromulching is a comprehensive process that, when executed properly, yields impressive results—a lush, green landscape that’s both beautiful and sustainable. By understanding each step of the process, from initial planning to long-term maintenance, you can appreciate the expertise and care that goes into every project we undertake at Bledsoe Hydromulch.
Ready to Transform Your Landscape?
If you’re considering hydromulching for your property, we’re here to help. Contact Bledsoe Hydromulch at (214) 784-5402 or email us at [email protected] to schedule a free consultation.
Bledsoe Hydromulch—Expertise from Preparation to Aftercare, Growing Green Every Step of the Way.
